
Direct answer: Riverside transcribes your recordings automatically after each session, and you can also transcribe any file free on its transcription page with no signup. For clean speaker labels, export separate tracks per participant and use WAV audio. The built-in transcript downloads as TXT or SRT.
Key takeaways:
- Built-in transcription starts automatically after recording; paid plans from $24 a month.
- The free tool at riverside.fm/transcription needs no account but labels all speakers as one.
- Separate tracks per participant give the most accurate speaker labels.
- Export WAV when you can; name tracks HOST and GUEST before uploading elsewhere.
- Download TXT for reading and show notes, SRT for captions.
[ez-toc]
Quick Steps to Transcribe a Riverside Recording
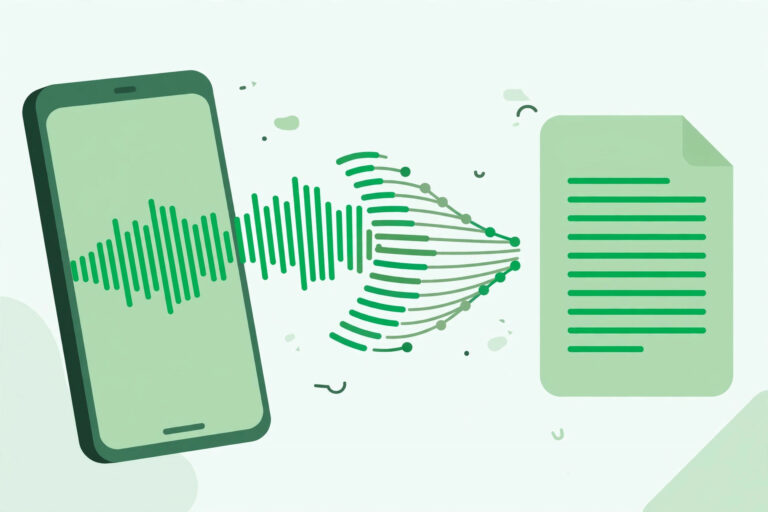
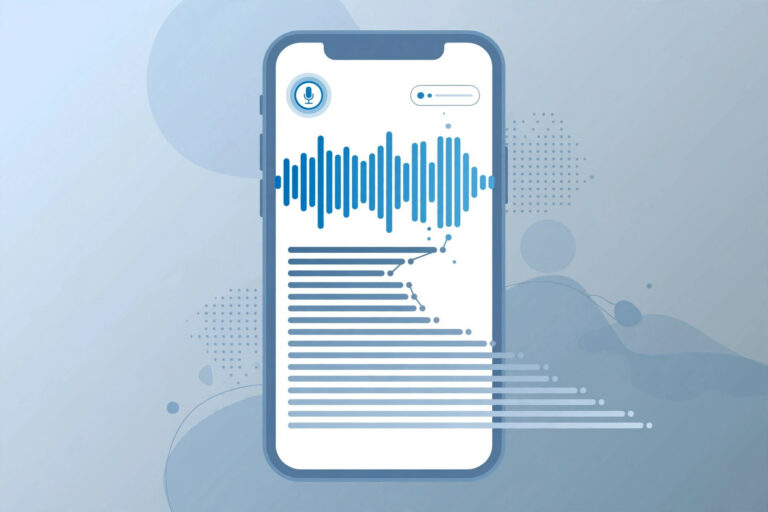
Record in Riverside, then open the transcript. After a session ends, Riverside generates the transcript automatically. Open the recording in your dashboard and find the transcript in the editor, with each speaker labeled separately.
Review and correct. Click any word to jump to that moment in the recording. Fix names, terms, and anything the transcript misheard, and use “Correct everywhere” to fix a repeated word across the whole transcript at once.
Download the transcript. In the Tracks section, download a text file (TXT) for reading, show notes, or a blog post, or subtitles (SRT) with timestamps for captions. If the video also goes to YouTube, the SRT file doubles as captions — see our YouTube transcription guide. Both formats are ready to use as soon as the transcript finishes.
Or use the free tool for any file. If the recording did not come from Riverside, drag the MP3, WAV, MP4, or MOV file onto the free transcription page, pick the language, and download the transcript. No account is needed.
Why Transcribe Riverside Recordings?
Riverside records each participant locally in high quality — studio-grade audio and up to 4K video — so the source material is unusually clean for transcription. A transcript turns that recording into searchable text you can skim in minutes, quote accurately, and repurpose into show notes, blog posts, newsletters, and social clips. If the recording is a podcast episode, our free podcast transcript generator guide shows how to turn the same transcript into show notes. The same idea applies to other meeting tools — see our guides to transcribing Zoom meetings and Google Meet recordings.
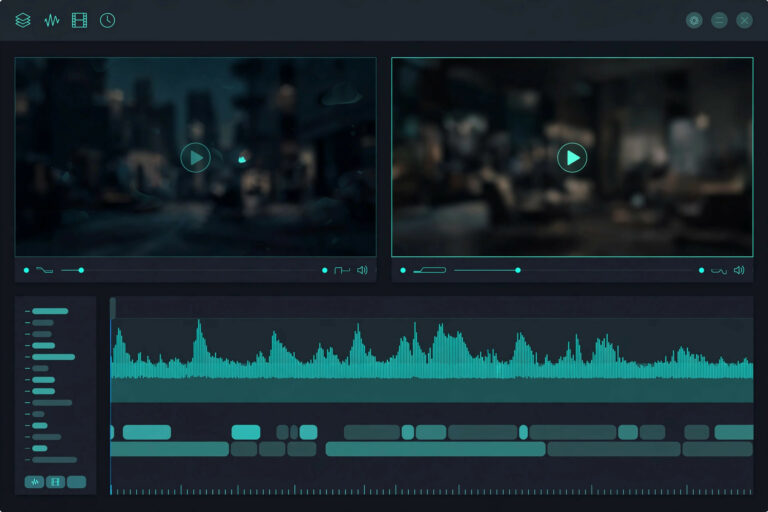
The transcript also drives the editor. Because the text is synced to the recording, deleting a sentence from the transcript cuts that part from the video. That text-based editing is the fastest way to trim a long interview into a tight episode, and the same transcript generates captions and clips.
Separate Tracks or a Mixdown?
This is the choice that decides how good your speaker labels are. Riverside records every participant on a separate track, and speaker detection labels speakers from those tracks. If you export a single mixed track, the transcript cannot separate speakers reliably — and on the free tool, multi-speaker audio is assigned to just one speaker.
Export separate tracks when: two or more people spoke, you need accurate speaker labels, speakers overlap, or you plan to edit per speaker and pull clean quotes.
A mixdown is enough when: one person spoke, you need a rough transcript for internal notes, or speed matters more than attribution.
Export audio-only for transcription even if you also publish video, and keep a mixdown alongside the separate tracks for quick listening. Use consistent track names — HOST, GUEST 1, GUEST 2 — so speaker IDs carry through the whole workflow. If an export gives you generic names like “Track 1”, rename the files before uploading them anywhere.
Tips for Best Results
Choose WAV when you can. WAV preserves audio detail without the extra compression that can blur words, so it usually gives the cleanest transcript. High-quality MP3 works when file size matters, but avoid converting the same file several times — each conversion can add artifacts. For the upload workflow itself, our guide to transcribing MP3 files covers the basics.
Set the language before recording. Riverside supports 100+ languages. Pick the recording language in the studio settings so the transcript starts from the right language instead of guessing.
Decide on timestamps early. Timestamps help you verify quotes, find moments fast, and sync captions. Use periodic timestamps or speaker-change markers for readable transcripts, and word- or line-level timing only when you need captions.
Clean up with a light hand. Most podcasts use a clean verbatim style: keep the meaning, remove repeated fillers, fix false starts, and standardize names and terms. Keep fillers when they signal hesitation that matters, and read edited sentences aloud to confirm they still sound like the speaker.
Lock the edit before making captions. If you cut or rearrange the audio after generating captions, the timing breaks. Finalize the edit first, then export SRT.
Limitations & Edge Cases
- The free tool has one speaker label. Upload multi-speaker audio to the free transcription page and every line is assigned to a single speaker. For labeled speakers, record in Riverside on a paid plan or transcribe the separate tracks elsewhere.
- A mixed track cannot be unmixed. If everyone shared one microphone or you only kept the mixdown, no tool can reliably separate the speakers afterwards. Keep the separate tracks from the start.
- Accuracy is a vendor claim. Riverside claims up to 99% accuracy, and clean local recordings help, but accents, crosstalk, and technical terms still need a review pass. Check names and numbers against the audio before publishing quotes.
- Advanced features need a paid plan. Speaker detection, text-based editing, audio cleanup, and automatic captions come with paid plans starting at $24 a month. The free tool covers the transcript itself, not the editing suite.
Frequently Asked Questions
Does Riverside transcribe automatically?
Yes. After a recording ends, Riverside generates the transcript automatically on paid plans. You can also transcribe any audio or video file free on the transcription page, with no signup.
How do I download a Riverside transcript?
Open the recording, go to the Tracks section, and download a text file (TXT) for reading or a subtitles file (SRT) with timestamps for captions.
How do I get accurate speaker labels?
Record each participant on a separate track and keep the tracks separate through export. Riverside labels speakers from the separate tracks. A single mixed track will not separate speakers, and the free tool assigns all text to one speaker.
What formats does Riverside transcription support?
Uploads accept MP3, WAV, MP4, and MOV. Transcripts download as TXT for text and SRT for timestamped subtitles.
Can I transcribe Riverside recordings with another tool?
Yes. Export the separate tracks as WAV, name them clearly (HOST, GUEST), and upload them to any transcription tool. That workflow also works when you need features Riverside does not offer, such as human review or a different export format.