Direct answer: In short, learning how to get a YouTube Transcript takes just a few minutes once you follow the right steps. This guide walks you through each one.
Key takeaways:
- How to View a YouTube Transcript on Desktop: This is the fastest method and works in any desktop browser:
- How to Get a Transcript in the YouTube Mobile App: The mobile app is more limited, there is no “Open transcript” button in the app itself.
- Why Some Videos Don’t Have a Transcript: If the “Open transcript” option is missing, one of these is the reason:
- How to Copy a YouTube Transcript: Once the transcript panel is open on desktop:
- When in doubt, test with your own audio before committing to a paid plan.
If you’ve ever wondered how to get YouTube transcript text from a video, for studying, quoting a source, repurposing content, or saving notes, it takes less than a minute once you know where the button hides. YouTube keeps a full text transcript for most videos that have captions, and you can view it, copy it, or download it with free tools.
[ez-toc]
This guide covers viewing transcripts on desktop and mobile, why some videos don’t have one, how to copy and download the text, how to clean up messy auto-generated transcripts, and when it’s worth getting a professional transcript instead.
Method 5: Use a Free Transcription Tool
Sometimes YouTube gives you nothing. The video has no captions. The transcript button is missing. The owner disabled everything. A free transcription tool fills the gap.
Step 1: Copy the YouTube video URL from your browser address bar.
Step 2: Open a free transcription tool in a new tab.
Step 3: Paste the URL and start the transcription.
Step 4: Wait a minute or two. The tool processes the audio.
Step 5: Copy or download the finished transcript.
Free tools typically handle the audio the same way YouTube does, by running it through speech recognition. Quality is similar to YouTube’s auto-captions. The advantage is you get a clean text file without timestamps, and it works even when the video owner disabled captions.
If you want a full overview of transcription options for YouTube, including accuracy tips and best practices, check out our main guide youtube transcription.
Understanding Transcript Formats
Transcripts come in a few formats. Knowing the difference saves confusion.
Plain text (.txt). Just the words, no timestamps. Best for reading, quoting, and pasting into documents. Most free tools give you this.
SubRip (.srt). Text plus timestamps for each line. Video players use this to show captions at the right moment. If you ever want to add captions to your own video, this is the format you need.
WebVTT (.vtt). Similar to .srt but designed for web video. YouTube accepts it for manual caption uploads.
For most people, plain text is enough. You only need timestamped formats if you are editing video or publishing captions yourself.
Common Problems and Quick Fixes
“Open transcript” is missing. The video owner likely disabled captions. Try a free transcription tool instead (Method 5).
The transcript is in the wrong language. Click the gear icon in the transcript panel, if available, and pick another language track. Not all videos have multiple languages.
The text has lots of errors. This is normal for auto-generated captions. Noisy audio, mumbling, or technical terms cause mistakes. If accuracy matters, edit the text by hand or pay for a human transcript.
Timestamps clutter the text. Paste the transcript into a text editor and use find-and-replace to strip timestamp lines. Free tools often give you a clean version without this step.
How to View a YouTube Transcript on Desktop
This is the fastest method and works in any desktop browser:
- Open the YouTube video.
- Below the video player, click the … (three dots) next to the Share button, under the video title.
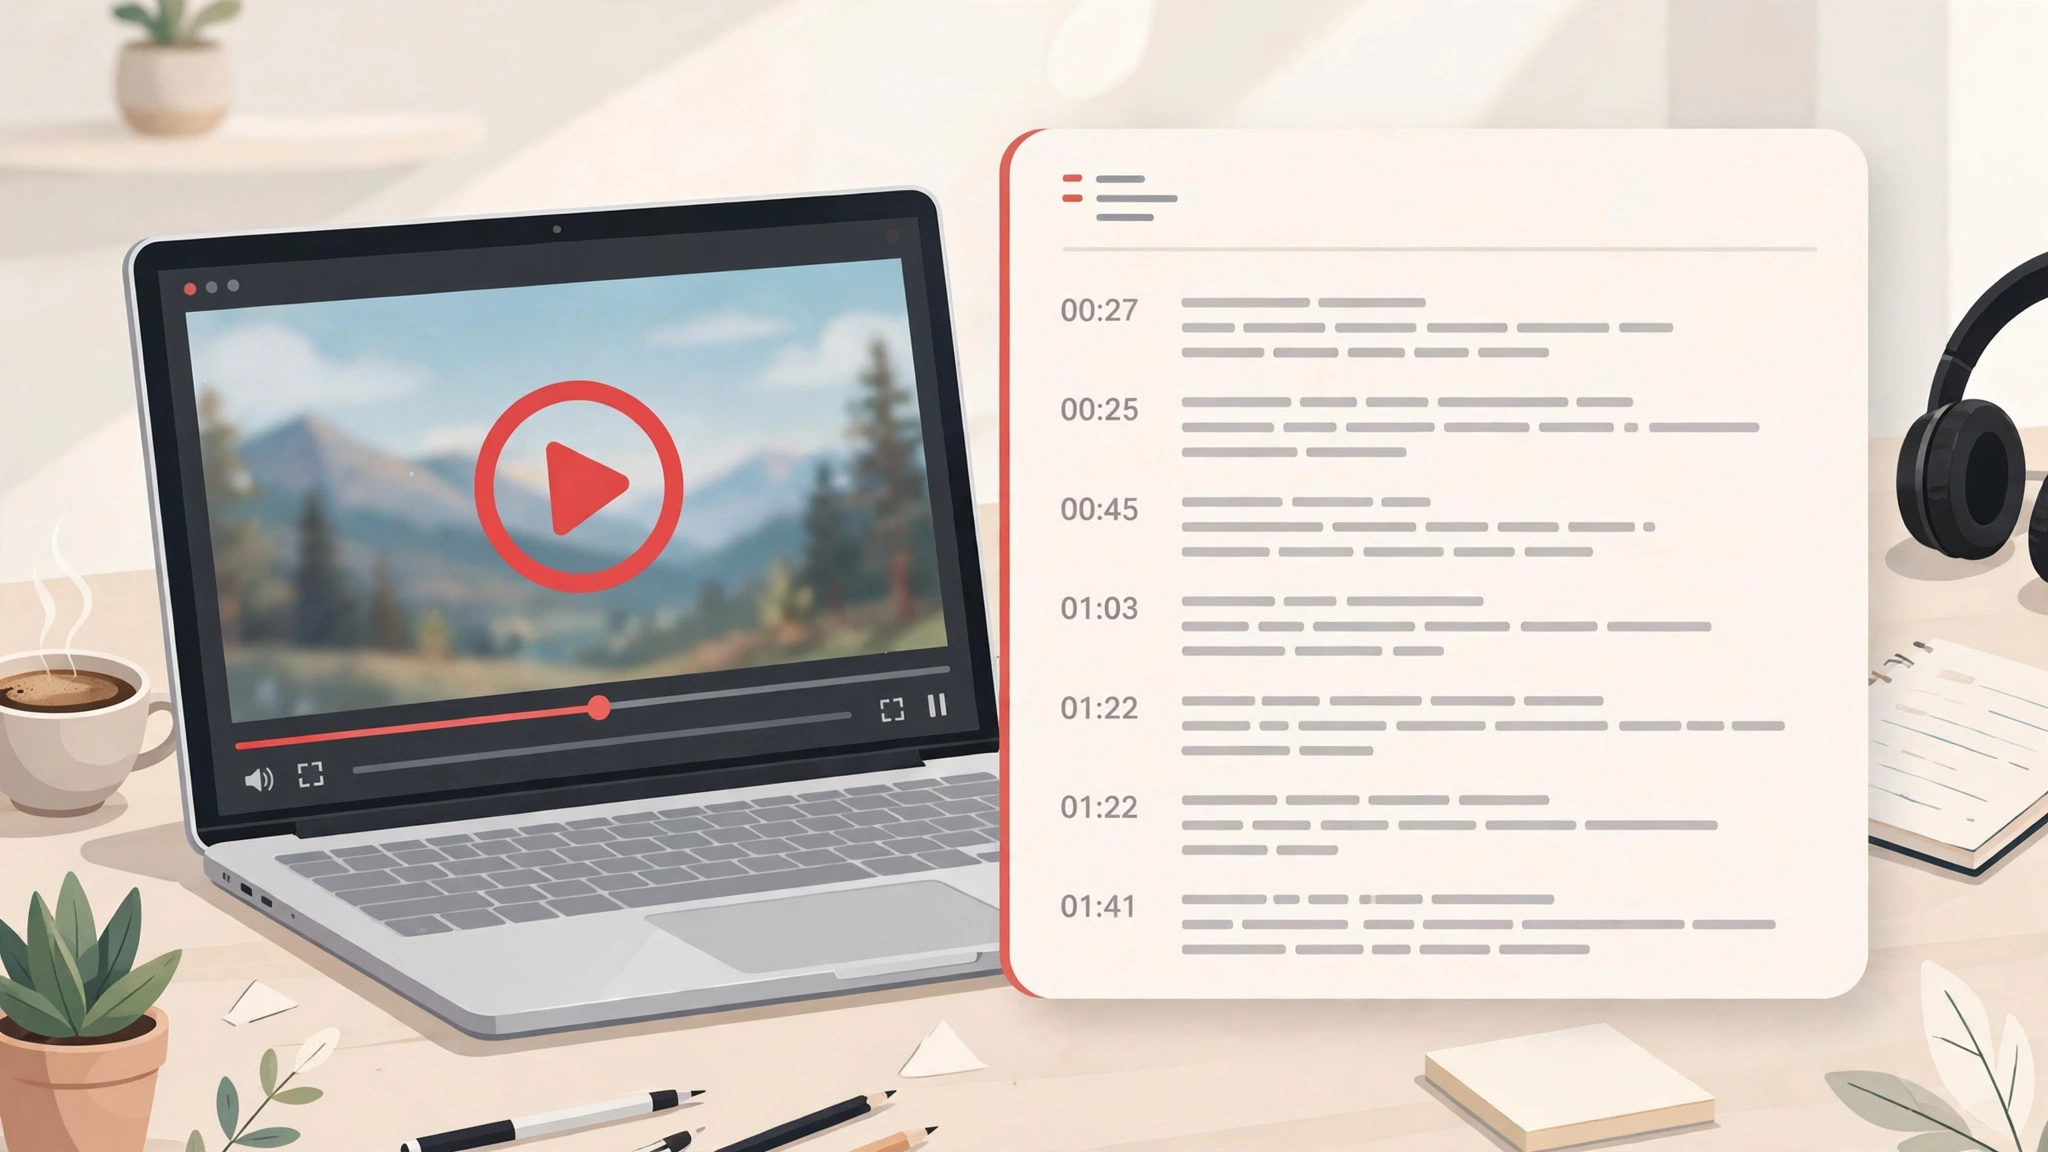
- Click Open transcript. A transcript panel appears on the right side of the video.
- The transcript shows the text with timestamps. Click any line to jump the video to that exact moment, handy for finding quotes.
Tip: Click the three dots at the top of the transcript panel and select Toggle timestamps to hide the timecodes, leaving clean paragraph text that’s easier to copy.
How to Get a Transcript in the YouTube Mobile App
The mobile app is more limited, there is no “Open transcript” button in the app itself. You have two workarounds:
Option A, mobile browser in desktop mode:
- Open Chrome or Safari on your phone and go to youtube.com.
- Open the video, tap the browser menu, and request the Desktop site.
- Follow the desktop steps above: … → Open transcript.
Option B, use the description and captions: Tap the video title to expand the description. Some creators paste a full transcript there. Otherwise, turn on CC captions and screenshot or note the key parts, workable for short clips, tedious for long videos.
Why Some Videos Don’t Have a Transcript
If the “Open transcript” option is missing, one of these is the reason:
- No captions exist. The uploader never added subtitles and YouTube hasn’t auto-generated them. Common for brand-new uploads, since auto-captions can take hours to appear.
- Auto-captions aren’t supported for the language. YouTube auto-generates captions in a limited set of languages. Videos in unsupported languages get no automatic transcript.
- The video is private, unlisted with restrictions, or age-gated. Some restricted videos don’t expose transcripts.
- The uploader disabled community captions contributions (legacy) or the video is a YouTube Short, Shorts support for transcripts is inconsistent.
If the video is new, check back in a day. Otherwise, you’ll need a third-party transcription method (covered below). If captions exist but won’t display, see our guide to fixing subtitles not working on streaming services.
How to Copy a YouTube Transcript
Once the transcript panel is open on desktop:
- Click the three dots in the transcript panel header and choose Toggle timestamps to remove timecodes.
- Click inside the transcript text and press Ctrl+A (Windows) or Cmd+A (Mac) to select all.
- Press Ctrl+C / Cmd+C to copy.
- Paste into Google Docs, Word, or any notes app with Ctrl+V / Cmd+V.
The pasted text usually arrives as one long block. Spend two minutes adding paragraph breaks at topic changes, it makes the transcript dramatically more usable.
How to Download a YouTube Transcript as a File
Copy-paste works, but if you want a proper .TXT or .SRT file, use one of these free methods:
Method 1, Free transcript downloader websites. Paste the video URL into a free YouTube transcript tool (search “YouTube transcript downloader”, several reputable free options exist). Most let you download the transcript as plain text or as an .SRT subtitle file with timestamps. Avoid any site that asks you to install software or create an account; the legitimate ones work entirely in the browser.
Method 2, Copy into Google Docs and download. Paste the copied transcript into a Google Doc, then go to File → Download → Plain Text (.txt) or Microsoft Word (.docx). Simple and no third-party site involved.
Method 3, Browser extensions. Extensions like “YouTube Transcript” add a download button directly to the video page. Only install extensions from the official Chrome Web Store with strong ratings and a large user base.
Method 4, YouTube Studio (for your own videos). If it’s your video: YouTube Studio → Subtitles → click the three dots next to your subtitle track → Download. You can download .SRT, .VTT, or .SBV formats.
Cleaning Up Auto-Generated Transcripts
YouTube’s automatic captions are convenient but messy: missing punctuation, wrong words (especially names and technical terms), and no speaker labels. If you’re working with an auto transcript, clean it up:
- Fix the obvious errors first. Search for the video’s key terms, product names, people’s names, and correct every mangled instance.
- Add punctuation and paragraphs. Auto-captions arrive as a wall of lowercase text. Sentence breaks alone double readability.
- Check numbers and dates. Speech-to-text systems routinely turn “fifteen” into “fifty.” Verify any figure you plan to quote.
- For your own videos, fix it at the source: YouTube Studio → Subtitles → open the auto-generated track → Edit. Correct the text and timing once, and every future transcript download from that video is clean.
When You Need a Professional Transcript Instead
A YouTube transcript is fine for personal notes. It is not fine for everything. Get a professional transcript when accuracy actually matters:
- Research and journalism: Misquoted words become misreported facts. Human-reviewed transcripts from Rev (around 99% accuracy) are the standard here.
- Legal or compliance use: Court-adjacent work needs verbatim accuracy with speaker identification, use a professional service, not auto-captions.
- Content repurposing: Turning a video into a blog post or ebook is much faster from a clean transcript. Descript gives you an editable transcript you can correct like a document, then export.
- Meetings and interviews: Otter.ai transcribes with automatic speaker labels and summaries, which auto-captions never provide.
As a rule of thumb: if someone else will read it or rely on it, don’t ship raw auto-captions.
For Creators: Adding a Proper Transcript to Your Videos
If you make videos, uploading accurate captions does three useful things: it makes your content accessible, it gives viewers a transcript via the method above, and it gives YouTube accurate text that helps the algorithm understand your video. Learn more about the SEO benefits of transcripts and captions.
- Write or generate your script’s text.
- In YouTube Studio, go to Subtitles → Add language → Upload file → choose “With timing” (upload an .SRT) or “Without timing” (paste plain text and let YouTube auto-sync).
- Review the synced result once and publish.
Videos with accurate uploaded captions consistently outperform auto-captioned videos on viewer retention for tutorial and educational content, viewers can follow along even with the sound off.
FAQ
Is getting a YouTube transcript free? Yes. Viewing and copying a transcript through YouTube’s built-in panel is completely free, and several free websites download transcripts as text files. You only pay if you want a professionally transcribed, high-accuracy version.
Can I get a transcript of any YouTube video? Only videos that have captions, either uploaded by the creator or auto-generated by YouTube. If neither exists, the transcript panel won’t appear.
How do I download a YouTube transcript on iPhone or Android? Use your mobile browser in desktop mode to open the transcript panel, copy the text, and paste it into your notes app. Alternatively, use a free transcript-downloader website and save the file directly to your phone.
Why is the YouTube transcript full of wrong words? You’re reading auto-generated captions. YouTube’s speech recognition is decent for clear, slow English but struggles with accents, background noise, music, and technical vocabulary. Toggle timestamps off and edit the key terms manually.
Can I get a transcript with timestamps? Yes, leave timestamps toggled on when copying, or download the .SRT format from a transcript downloader site or YouTube Studio. SRT files include start and end times for every caption.
Is it legal to download a YouTube transcript? Viewing and copying a transcript for personal use, studying, notes, quoting with attribution, is generally fine. Republishing someone else’s full transcript as your own content can violate copyright. When in doubt, quote briefly and link to the video.
Conclusion
Getting a YouTube transcript is a 30-second job on desktop: open the video, click the three dots, and choose Open transcript. From there you can copy the text, strip the timestamps, or download it as a file with a free tool. Just remember what you’re working with, auto-generated captions are a starting point, not a finished document. Clean up anything you’ll quote or publish, and reach for Rev, Descript, or Otter.ai when accuracy matters.
Frequently Asked Questions
Is my audio data kept private by these tools?
Reputable tools encrypt uploads and let you delete your files. Always check the privacy policy before uploading sensitive recordings.
Can I edit the transcript after it is generated?
Yes. Every major transcription tool includes an editor for fixing names, terms, and punctuation before you export or share.
When should I use manual transcription instead of AI?
Use manual transcription for legal, medical, or publishable quotes where near-perfect accuracy matters more than speed.
What is the most accurate way to handle how to Get a YouTube Transcript?
A mix of AI transcription plus a quick manual review gives the best results. Pure auto-transcription reaches roughly 85 to 95 percent accuracy on clear audio.
Are there free options for how to Get a YouTube Transcript?
Yes. Most AI tools include free tiers with monthly limits, and built-in platform features cost nothing. If you transcribe often, a paid plan is usually worth it.
Sources and further reading: YouTube Help