Direct answer: The quick version: how to transcribe Oral History Interviews Free is easier than most people expect once you know the key facts. Details below.
Key takeaways:
- Recording With Transcription in Mind: Oral history narrators are often elderly, soft-spoken, or interviewed in their homes, not in studios.
- Free Tools That Handle Long Interviews: Multi-hour files are where free tools separate themselves.
- Archive-Ready Formatting: An oral history transcript isn’t just a text dump, it’s a research document that should still make sense to someone reading it decades from
- The Step-by-Step Workflow: Oral history has ethical obligations that go beyond normal interview practice:
- The right choice depends on your volume: occasional use favors free tiers, heavy use favors paid plans.
Oral history interviews are long, often two, three, even five hours, and they’re irreplaceable. You can’t re-interview someone about their memories of 1975. That makes transcription both essential and daunting: essential because an untranscribed recording is nearly unusable for research, daunting because professional transcription of a three-hour interview is expensive.
The good news: free tools handle long interviews well now, especially if you process the audio locally on your own computer. This guide covers the full workflow, recording for transcription, free tools that handle multi-hour files, and archive-ready formatting that makes your transcript useful to future researchers.
[ez-toc]
Recording With Transcription in Mind
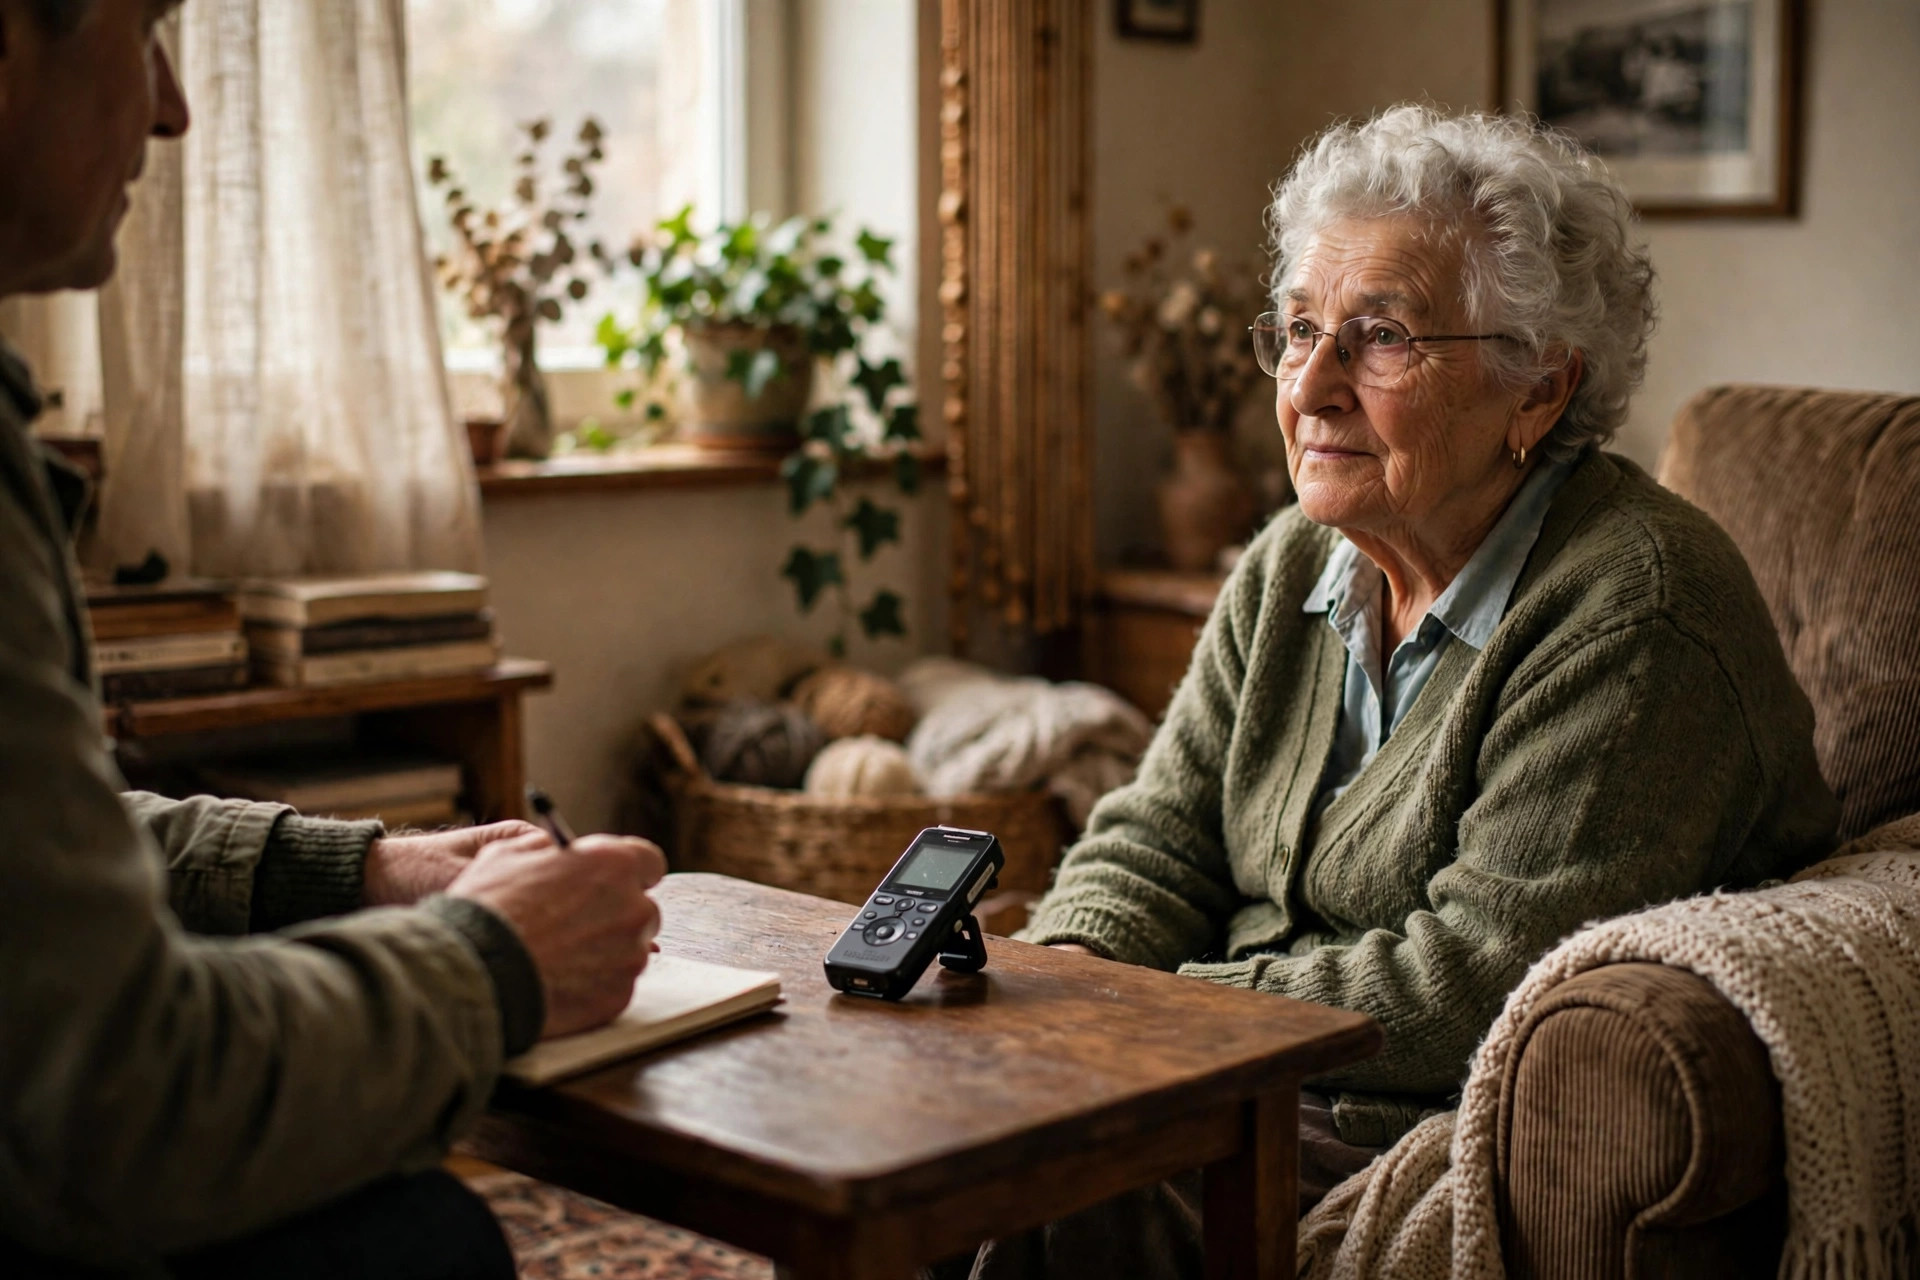
Oral history narrators are often elderly, soft-spoken, or interviewed in their homes, not in studios. A little care at recording time saves hours at transcription time:
Use a dedicated recorder, not just a phone. Phones work in a pinch, but a basic digital voice recorder with a decent built-in mic (or a cheap lavalier mic clipped to the narrator) produces dramatically cleaner audio. Place it close to the narrator, on the table between you, not across the room.
Record in a quiet room. Turn off the TV, close windows facing traffic, ask about humming appliances. Refrigerator hum and air conditioners are the classic oral-history audio killers, you stop hearing them after five minutes, but the microphone never does.
Do a test recording. Record 30 seconds, play it back with headphones. Check: can you hear the narrator clearly? Is there hum or echo? Is the interviewer’s voice overpowering? Fix it now, you can’t fix it later.
Record uncompressed when you can. WAV files are larger but capture more detail than MP3. For irreplaceable interviews, the storage cost is worth it. Keep the original files forever, even after transcribing.
Bring backup power and storage. A dead recorder mid-interview is a small tragedy. Fresh batteries, an empty memory card, and (if your recorder supports it) a phone recording as backup.
Free Tools That Handle Long Interviews
Multi-hour files are where free tools separate themselves. Here’s what works:
Local transcription with Whisper-based apps. Whisper is OpenAI’s free, open-source speech recognition model, and free community-built desktop apps run it on your own computer. This is the best free option for oral history specifically: no upload limits, no per-minute costs, no accounts, and your narrator’s irreplaceable audio never leaves your machine. A three-hour interview takes a while to process (plan for roughly real-time or slower on a modest computer, start it before lunch), but it costs nothing and handles long files that choke many free web tools.
Splitting long files first. If your tool struggles with very long files, split the interview into 30–60 minute segments with a free audio editor like Audacity before transcribing. Transcribe each segment, then join the transcripts. It’s an extra step, but it makes processing reliable and lets you work on the transcript in manageable chunks.
Browser-based tools for shorter sessions. If your interview is under an hour, free browser transcription tools are the fastest path, upload and go.
(Disclosure: TranscriptionAid is our own tool.) TranscriptionAid is a free, no-signup browser option worth knowing for shorter interviews or individual segments. For the full multi-hour workflow, though, local processing is usually the more practical free route.
What to avoid: free-trial tools that watermark, truncate, or paywall your transcript after you’ve invested the processing time. For oral history, where re-running is costly, prefer tools with no limits over tools with generous-sounding trials.
Archive-Ready Formatting
An oral history transcript isn’t just a text dump, it’s a research document that should still make sense to someone reading it decades from now. These conventions come from oral history practice:
Speaker labels. Use the narrator’s full name (or the agreed-upon form) and the interviewer’s name: MARIA SANTOS: and INTERVIEWER (J. CHEN):. Be consistent throughout.
Timestamps at regular intervals. Insert a timestamp every 5–10 minutes of audio (e.g., [00:32:00]), plus timestamps at significant moments. Future researchers navigate long transcripts through these markers.
Mark non-verbal content in brackets. [laughs], [pauses], [crying], [points to photograph], [inaudible, passing truck]. These carry meaning, a long pause before an answer is data.
Note interruptions and overlaps honestly. [crosstalk], [interviewer and narrator speaking simultaneously]. Don’t invent dialogue you can’t hear.
Handle unclear passages with care. [inaudible 01:14:22] or [phrase unclear]. If you can make a best guess, put it in brackets with a question mark: [Kowalski?]. Never present a guess as certain.
Minimal editing, documented. Oral history convention favors light editing: remove false starts and filler words (“um,” “you know”) for readability, but preserve the narrator’s words, grammar, and speech patterns. Don’t “correct” dialect or grammar into standard English, that’s the narrator’s voice, and it’s part of the historical record. If you edit beyond cleanup, note your editing policy at the top of the transcript.
Header information. Every transcript should open with: narrator name, interviewer name, date, location, recording details, and any access restrictions. A transcript without this metadata is an orphan.
The Step-by-Step Workflow
- Prepare: Test your recorder, quiet the room, confirm the narrator’s consent (see below), note date/location/participants.
- Record: Let it run. Take minimal notes, just timestamps of significant moments (“story about the factory fire, ~40 min”).
- Back up immediately: Copy the audio to two places before you do anything else. Originals are irreplaceable.
- Transcribe: Run the audio through your chosen free tool. For long interviews, split into segments first if needed.
- Review against the audio: Play through at 1.25x speed, correcting names, places, and unclear passages. This is the longest step, budget roughly 2–3x the audio length.
- Format: Apply speaker labels, timestamps, bracketed notes, and the header block.
- Narrator review (if possible): Many oral history projects let narrators review their transcripts for corrections. It’s good practice and often catches misheard names.
- Archive: Store the audio, transcript, consent forms, and metadata together, in at least two locations.
Consent and Ethics: The Non-Negotiables
Oral history has ethical obligations that go beyond normal interview practice:
- Get informed consent in writing. The narrator should understand what the interview is for, where it will be kept, who can access it, and whether their name will be attached. Use a proper release form, oral history associations publish free templates.
- Discuss restrictions upfront. Some narrators want parts of the interview sealed for a period, or want to review before anything is shared. Agree on this before recording, not after.
- Respect the narrator’s wishes about identification. Some narrators prefer anonymity. Honor it completely, in the transcript, the filename, and the metadata.
- Share the results. Narrators give you their memories; the least you can do is give them a copy of the recording and transcript.
Frequently Asked Questions
What’s the best free tool for transcribing a 3-hour interview?
A local Whisper-based transcription app on your own computer, no upload limits, no cost, and the audio stays private. Split the file into segments with Audacity if the tool handles shorter files better. Browser tools are fine for shorter interviews but often struggle with multi-hour files.
How long does it take to transcribe an oral history interview?
Automated transcription runs at roughly real-time or faster depending on your computer. The human review pass, listening through, correcting names and unclear passages, formatting, typically takes 2–4x the audio length. A three-hour interview is realistically a full day or two of work to bring to archive quality.
Should I correct the narrator’s grammar in the transcript?
No. Preserve the narrator’s words, grammar, and speech patterns, that’s part of the historical record. Light cleanup of false starts and filler words is standard, but don’t rewrite dialect or “fix” grammar. Document your editing approach at the top of the transcript.
What do I do about names the transcription tool gets wrong?
Verify them against the audio first, then against any external source, and best of all, ask the narrator during a review pass. Misheard proper nouns are the most common automated-transcription error and the most important to fix, since future researchers will search the transcript by name.
How should I store oral history recordings long-term?
Keep the original uncompressed audio, the finished transcript, the consent/release forms, and metadata (who, when, where) together, in at least two separate locations. If depositing with an archive or library, follow their format requirements, many have specific guidance on file formats and metadata.
Can I publish an oral history interview online?
Only with the narrator’s informed consent covering publication, and honoring any restrictions you agreed to. Even with consent, consider whether publishing full audio could harm the narrator or others mentioned. When in doubt, consult the oral history association guidelines for your country.
Conclusion
Transcribing oral history interviews for free is absolutely doable, the tools are there, and they handle long files if you work locally. The real work was never the typing; it’s the care around it. Record well, back up immediately, transcribe with a free local tool, review against the audio, format for the archive, and handle consent and the narrator’s wishes with the seriousness they deserve. Do that, and a three-hour conversation becomes a document that outlives everyone in the room, which is the entire point of oral history.