


Managing digital wallets can feel like juggling too many balls at once. If you use Cash App for peer-to-peer payments and Apple Pay for your daily retail transactions, you have likely wondered if there is a direct button to move money between them. The short answer is no; there is no single ‘transfer’ button inside either app that links them directly. However, moving your money from Cash App to your Apple Wallet is straightforward once you understand how the two systems interact with your bank.
Understanding the Connection Between Cash App and Apple Pay
Both Cash App and Apple Pay act as digital conduits, but they function differently. Cash App is a standalone financial platform with its own balance and ecosystem. Apple Pay is a tokenized payment service that stores your existing debit or credit card information to facilitate NFC (contactless) payments at physical terminals or within apps. Because they don’t share a direct API link, you must use a bridge—either your physical Cash Card or a shared bank account—to move funds.
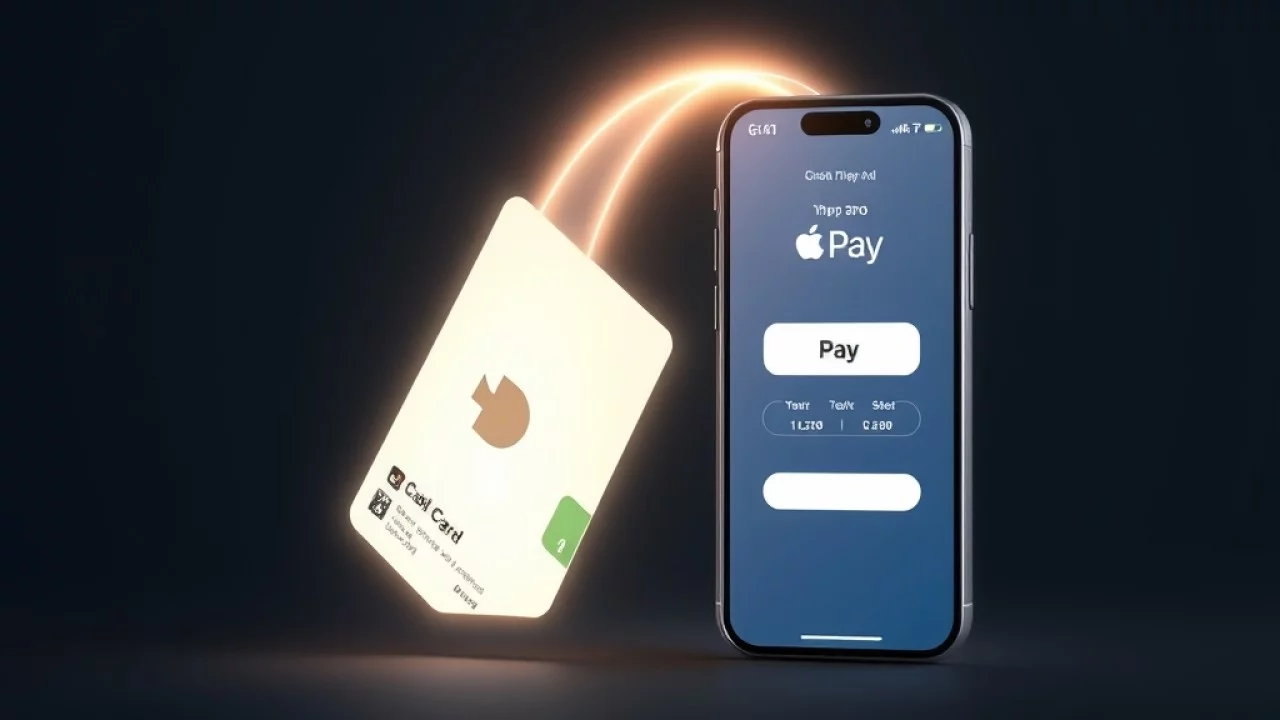
Method 1: Using the Cash Card as a Debit Card
The fastest way to spend your Cash App balance via Apple Pay is by adding your Cash Card to your Apple Wallet. This treats your Cash App balance as a debit card, allowing you to pay at any terminal that accepts Apple Pay.
Step-by-Step Setup
- Open Cash App: Tap the ‘Cash Card’ tab on your home screen.
- Add to Apple Wallet: Look for the ‘Add to Apple Pay’ button. If you don’t see it, ensure your app is updated to the latest version.
- Follow the Prompts: Cash App will automatically push your card details to the Apple Wallet app. You will need to confirm the addition within the Wallet app itself.
- Set as Default (Optional): Once added, you can open your Apple Wallet, tap your new Cash Card, and select ‘Use as Default Card’ if you want it to be your primary payment method.
By doing this, you aren’t technically transferring money into an Apple Cash balance, but you are effectively moving your spending power from Cash App to your phone’s tap-to-pay interface. This is the most efficient method for daily purchases.
Method 2: Using a Linked Bank Account as an Intermediary
If you specifically need the money to land in your Apple Cash balance (the digital card inside Apple Wallet that can hold a balance), you have to route the funds through a traditional bank account. This takes a bit longer, but it is necessary if you want to send money to other iMessage users via Apple Cash.
The Workflow
- Step 1: Cash Out: Open Cash App and select ‘Cash Out’ to move your balance to your linked bank account. Choose ‘Standard’ (1-3 business days) or ‘Instant’ (for a small fee).
- Step 2: Deposit to Apple Cash: Once the funds hit your bank account, open your Apple Wallet. Tap your ‘Apple Cash’ card.
- Step 3: Add Money: Select ‘Add Money’ and enter the amount you just transferred from Cash App.
- Step 4: Confirm: Apple Pay will pull the funds from your bank account to top up your Apple Cash balance.
While this process involves an extra step, it is the only way to fund your Apple Cash balance directly if you do not have another debit card handy.
Troubleshooting Common Transfer Issues
Occasionally, things don’t go as planned. If you are having trouble adding your Cash Card to Apple Pay, check these common pitfalls:
- Card Activation: Ensure your physical Cash Card has been activated. You usually cannot add the card to Apple Pay until the activation process is complete.
- App Permissions: Ensure that your iPhone has permission to share data with the Cash App. If you recently updated iOS, these settings can sometimes reset.
- Bank Delays: If you are using the ‘Bank Intermediary’ method, remember that standard bank transfers do not process on weekends or holidays. If you ‘Cashed Out’ on a Friday, the funds might not be available to add to your Apple Cash until Tuesday.
- Account Restrictions: If your Cash App account is under review or restricted, the ‘Cash Out’ feature may be temporarily disabled.
Security Best Practices for Financial Transfers
Moving money between digital platforms requires vigilance. Since both apps provide access to your funds, keep these security tips in mind:
- Enable Biometrics: Always require FaceID or TouchID for both Cash App and Apple Wallet. Never rely on a simple passcode if your phone supports biometric security.
- Monitor Notifications: Enable push notifications for both apps. If you see a transaction you don’t recognize, you need to know about it immediately so you can lock your cards.
- Avoid Public Wi-Fi: When performing a ‘Cash Out’ or linking a new bank account, use your cellular data. Public Wi-Fi networks are vulnerable to interception, and your financial data should never be exposed on them.
- Verify Recipients: If you are using Apple Cash to send money to friends, double-check the contact name. Unlike traditional bank wires, digital wallet transfers are often instantaneous and difficult to reverse.
Conclusion
While Cash App and Apple Pay don’t talk to each other directly, you have two reliable ways to bridge the gap. Adding your Cash Card to Apple Wallet is the superior method for most users because it allows you to spend your balance instantly at millions of retailers. If you specifically need to use Apple Cash features, routing your money through your bank account is a simple, albeit slightly slower, alternative. By setting up your Cash Card today, you can eliminate the need for manual transfers and keep your finances moving as fast as you do.
External Resources & Further Reading
For additional industry standards and official technical guidelines, explore the following trusted external resources:
Related Articles & Guides
Explore related technical guides and analysis from our publishing library: