Direct answer: The quick version: transcribe Voice Recorder Audio to Text (H1n Guide) is easier than most people expect once you know the key facts. Details below.
Key takeaways:
- Step 1: Get the Files Off the Recorder: Every modern handheld recorder stores audio on a microSD card and exposes the same two transfer methods:
- Step 2: Split Long Recordings (When Needed): Handheld recorders encourage long, unbroken recordings, a two-hour interview as a single WAV can be 1–2 GB.
- Step 3: Transcribe Free in Your Browser: (Disclosure: TranscriptionAid is our own tool.) With files on your computer, open a free browser-based transcription tool like TranscriptionAid, no signup, no install:
- Step 4: Clean Up Recorder-Specific Issues: Handheld recorder audio has a characteristic set of problems.
- The right choice depends on your volume: occasional use favors free tiers, heavy use favors paid plans.
[ez-toc]
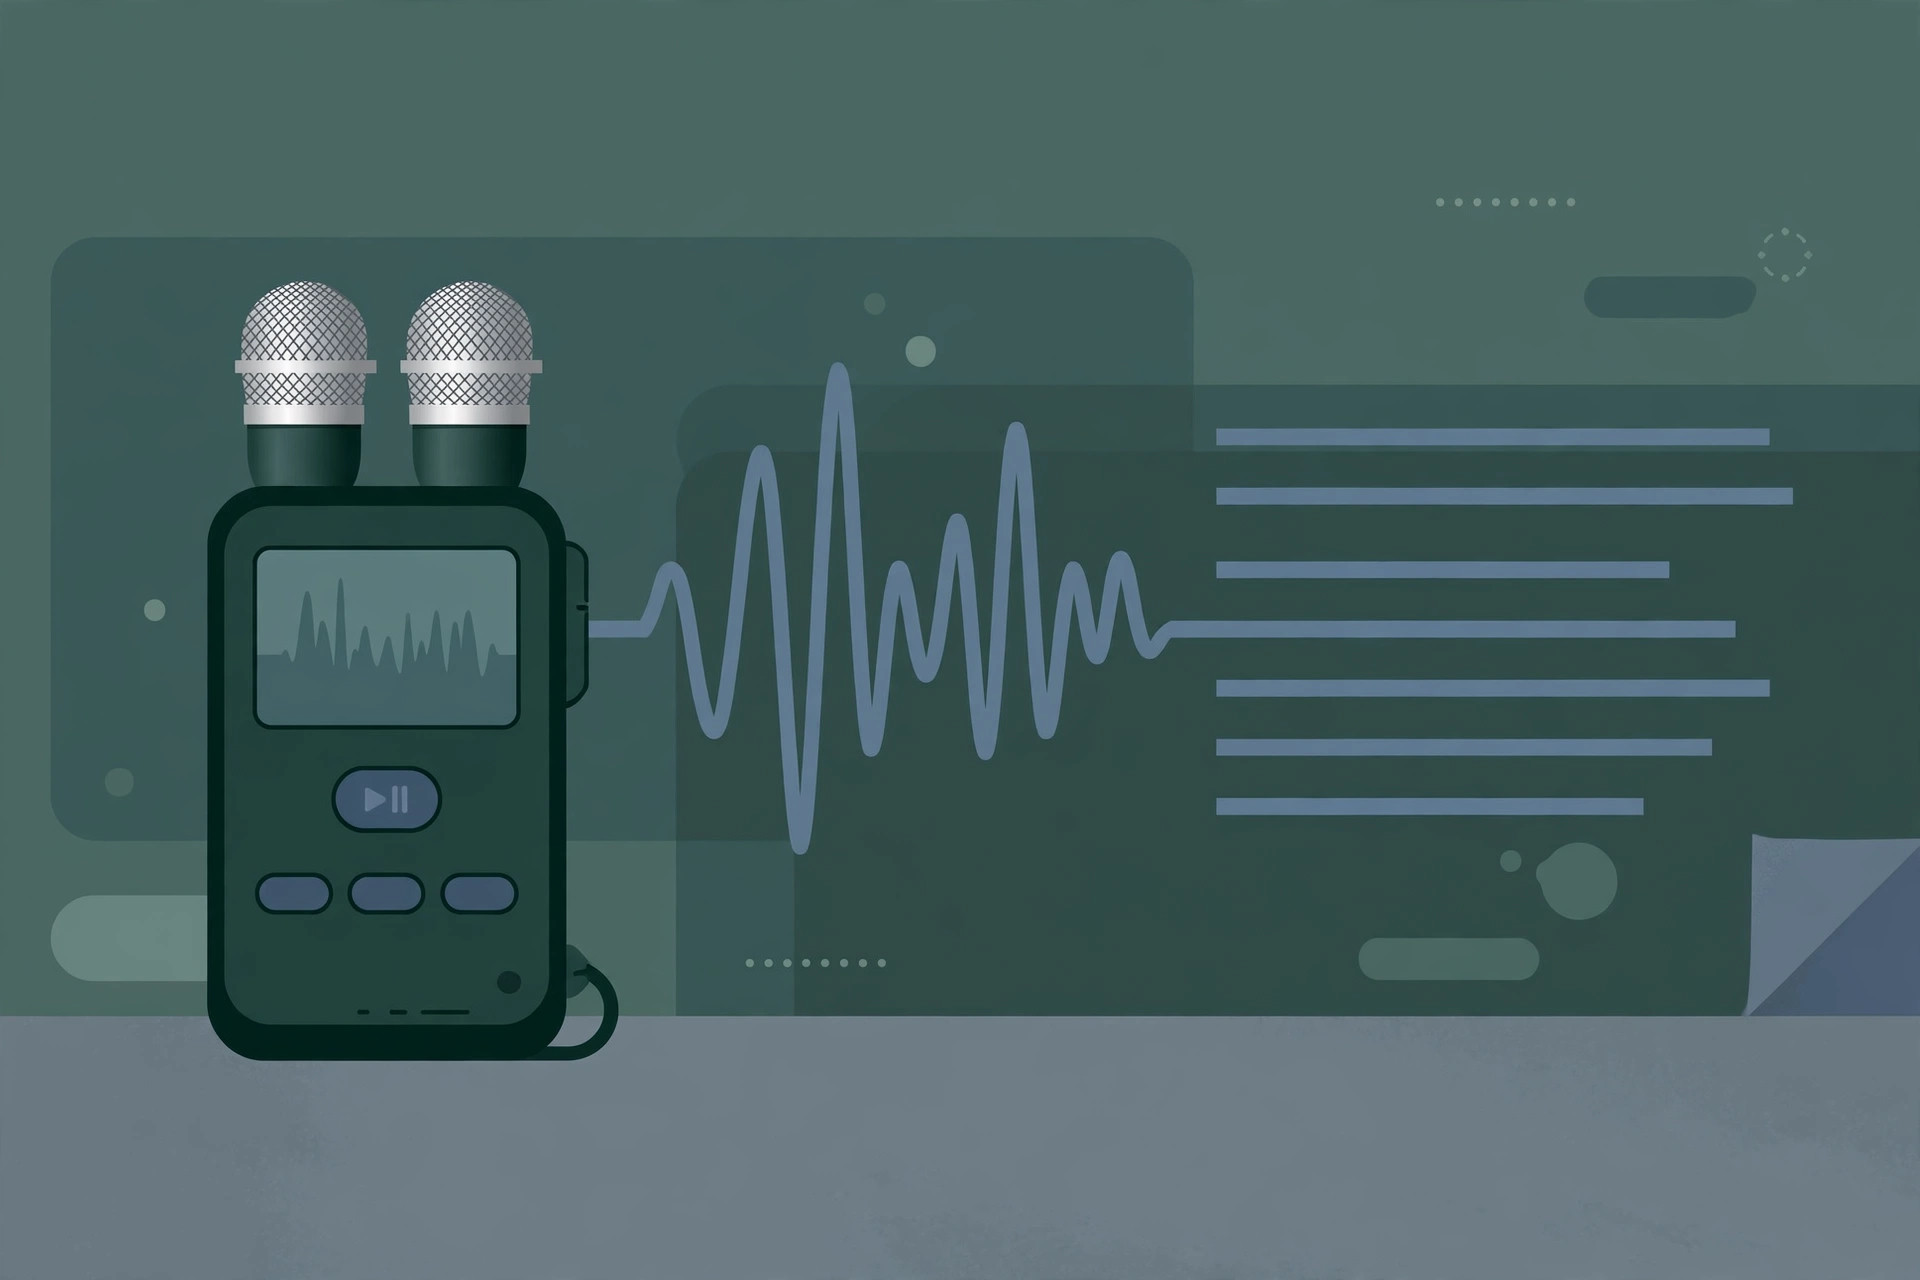
Search for how to transcribe a voice recorder interview and you’ll drown in results about Zoom meetings, the video-conferencing kind, not the handheld recorder kind. This guide is for the other Zoom: the Zoom H1n (and its cousins from Olympus, Sony, and Tascam) sitting on the table between you and your interviewee. The workflow is simple, copy the files off the recorder, split long recordings if needed, and transcribe them free in your browser, but each step has recorder-specific gotchas worth knowing.
Table of Contents
Step 1: Get the Files Off the Recorder
Every modern handheld recorder stores audio on a microSD card and exposes the same two transfer methods:
Option A: USB cable (recommended). Connect the recorder to your computer with its USB cable and power it on. It appears as a removable drive. Open it and copy the audio files to a folder on your computer, don’t work from the card directly, and don’t move (cut/paste) the files; copy them, so the originals stay on the card until the transcript is done and verified.
Option B: Card reader. Pop the microSD card out, slot it into a reader, and copy the files the same way. Faster for large transfers, but handle the tiny card carefully and reinsert it before your next recording session.
Recorder-specific notes:
- Zoom H1n: Records WAV (up to 24-bit/96kHz) or MP3 depending on your settings. Files land in a straightforward folder structure, look for
ZOOM001,ZOOM_H1n, or dated folders. The H1n mounts as USB storage when connected with the cable and powered on. - Olympus (WS / DM / LS series): Similar USB mass-storage behavior. Some older models use proprietary folder layouts, the audio is still standard DSS, WMA, MP3, or WAV, all readable once copied.
- Sony ICD series: Also mounts as a USB drive. Sony’s newer models may default to LPCM WAV; older ones used MP3.
- Tascam DR series: Same drill, USB storage mode, WAV/MP3 files.
One critical check: note which format your recorder is set to. WAV files are large but transcribe beautifully; MP3s are smaller and still fine. If your recorder offers a choice, WAV at 44.1kHz/16-bit is the sweet spot, higher sample rates just make bigger files without helping speech recognition.
Step 2: Split Long Recordings (When Needed)
Handheld recorders encourage long, unbroken recordings, a two-hour interview as a single WAV can be 1–2 GB. That’s unwieldy for any transcription tool and risky (one corrupt file loses everything). Split strategically:
- Split at natural breaks. Interview with three subjects? Make three files. A long session with a lunch break? Split there. Natural boundaries make the resulting transcripts easier to organize anyway.
- Keep segments under ~60 minutes. Most browser transcription tools handle hour-long files comfortably; beyond that, memory and processing time grow painful.
- Use a free editor. Audacity (free, all platforms) splits WAVs without re-encoding: open the file, select a section, export selection as WAV. No quality loss, no cost.
- Name files meaningfully.
2026-09-24_interview-maria-part1.wavbeatsZOOM0007.wavwhen you’re staring at twelve transcripts a month later.
Don’t split mid-sentence or mid-answer, cut during pauses, and overlap by a few seconds if you’re unsure, so no words fall in the gap.
Step 3: Transcribe Free in Your Browser
(Disclosure: TranscriptionAid is our own tool.) With files on your computer, open a free browser-based transcription tool like TranscriptionAid, no signup, no install:
- Go to the TranscriptionAid page in your browser.
- Upload the WAV or MP3 file from your recorder (drag-and-drop works).
- The audio is processed in your browser, the file isn’t uploaded to a server, which matters when interviewees spoke on the record about sensitive topics.
- Review the timestamped transcript, then copy it or export it (plain text, or SRT if you need captions).
Repeat per file. For a batch of interviews, transcribe them in the background one at a time while you do the cleanup pass on the previous one, an efficient assembly line.
Why browser-based matters for recorder audio specifically: handheld recorders are the tool of choice for journalists, researchers, and lawyers precisely because the material is sensitive. Uploading those recordings to a cloud transcription service adds a data-exposure step that the whole point of a dedicated recorder was arguably to avoid. Local browser processing keeps the chain of custody short: recorder → your computer → your browser tab.
Step 4: Clean Up Recorder-Specific Issues
Handheld recorder audio has a characteristic set of problems. Knowing them in advance speeds up the cleanup pass:
- Room tone and handling noise. Table bumps, mic rustling, HVAC hum, the model will occasionally transcribe a thump as a word. Skim the transcript against the audio at 1.25x speed and delete the artifacts.
- Distance fade. When the interviewee leans back, volume drops and accuracy follows. Mark genuinely inaudible passages as
[inaudible 00:14:22]rather than guessing, especially for journalism and legal work, where a guessed word can become a misquote. - Crosstalk. Two people talking over each other defeats every transcription engine. If your recorder has a stereo/dual-mic mode, use it; separated channels are far easier to untangle than a mono mix.
- Auto-gain pumping. Many recorders’ auto-level rides the volume up during pauses, amplifying background noise. The transcript may contain phantom words in quiet sections, another reason for the skim pass.
- File-start clipping. The first second of H1n recordings sometimes clips the opening word as the recorder spins up. Start recording a few seconds before the interview begins and say a test phrase.
Recorder Settings That Make Transcription Easier
If you haven’t recorded yet, these settings pay off at transcription time:
| Setting | Recommendation | Why |
|---|---|---|
| Format | WAV 44.1kHz / 16-bit | Best quality-to-size ratio for speech |
| Mic gain | Manual, set with a level check | Auto-gain amplifies background noise in pauses |
| Low-cut filter | On (80–120Hz) | Removes rumble, HVAC, handling noise |
| Placement | 30–60cm from speakers, on a stable surface | Closer = clearer; stable = fewer bumps |
| Recording start | Begin 5–10 seconds early | Avoids clipped opening words |
The unglamorous truth: mic placement matters more than any transcription tool. A $100 recorder placed correctly beats a $400 recorder left at the far end of a conference table. Every decibel of clarity at the source saves minutes of cleanup later.
Frequently Asked Questions
Can I transcribe directly from the Zoom H1n without a computer?
Not practically. The H1n is a recorder, not a transcription device, there’s no on-board speech recognition and no way to run transcription apps on it. The workflow is always: copy files to a computer (or phone), then transcribe there. The transfer takes under a minute with a USB cable.
What file format does the Zoom H1n record in?
WAV or MP3, depending on your settings, both transcribe well in browser tools. Check your format setting before an important interview; if a previous user set it to low-bitrate MP3 to save card space, switch it back to WAV for anything you plan to transcribe.
How long does it take to transcribe a one-hour recorder file?
Processing time depends on your computer, but roughly: a one-hour WAV typically transcribes in several minutes on a modern laptop in a browser-based tool. Budget another 30–60 minutes for the cleanup pass, verifying names, marking inaudible sections, and fixing crosstalk. The cleanup, not the transcription, is where the time goes.
My recorder split the interview into multiple files automatically, is that a problem?
No, many recorders auto-split at 2GB (a FAT32 filesystem limit). Just transcribe the files in order and concatenate the transcripts. Note the split points in case a sentence spans the boundary, and keep the original file numbering so the sequence is obvious.
Should I convert WAV to MP3 before transcribing?
Not necessary. Browser transcription tools accept WAV directly, and converting adds a step while slightly degrading quality. Only convert if the file is so large it causes problems, in which case, splitting (Step 2) is the better fix anyway.
Is it okay to upload interview recordings to a cloud transcription service?
It depends on what was said and what consent you have. For on-the-record interviews with consent, reputable services are generally fine. For sensitive, off-the-record, or legally privileged material, browser-based transcription that doesn’t upload the audio is the safer architecture, the file never leaves your machine.
Conclusion
The recorder-to-transcript pipeline is refreshingly simple once the Zoom-meeting noise is filtered out of your search results: copy the files off via USB, split anything over an hour, transcribe free in your browser, and clean up with a skim pass against the audio. The two things that actually determine your result quality happen before transcription ever starts, where you placed the recorder, and whether you got clear audio. Get those right, and the rest is a quiet half-hour of verification per interview.
Related guides
Keep exploring: transcribing WAV files free online, transcribing iPhone voice memos, and getting timestamped transcripts.
Further reading
Audacity‘s free audio editor splits long WAV recordings without re-encoding, and the W3C Web Speech API specification documents the browser technology behind on-device transcription.
Sources and further reading: Zoom