

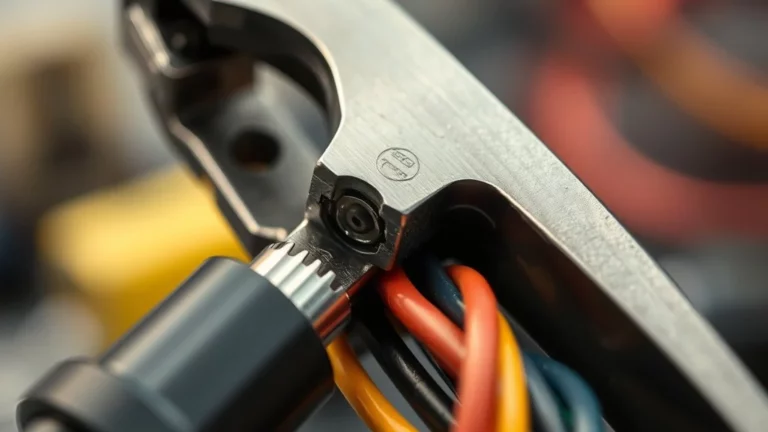
If you have ever repaired a network cable, installed a car stereo, or worked on basic home electrical projects, you have likely encountered the need to join a wire to a connector. While many beginners reach for a soldering iron, professionals almost always prefer crimping. But what is a crimping tool, and why does it matter?
What Is a Crimping Tool?
At its core, a crimping tool is a specialized device used to deform a metal connector around a wire, creating a cold weld that is both mechanically strong and electrically conductive. Unlike soldering, which uses heat to melt filler metal, crimping uses pure mechanical force to compress the connector and the wire into a single, cohesive unit. This process creates a gas-tight connection, meaning that oxygen cannot reach the metal surfaces, which prevents corrosion over time.These tools come in various shapes and sizes, ranging from simple hand-held pliers used for automotive repairs to heavy-duty, ratcheting tools used for high-precision data cabling. Because the quality of your connection depends entirely on the pressure applied, using the right tool for the specific terminal type is non-negotiable.

How the Crimping Process Works
The science behind a good crimp is surprisingly precise. When you squeeze the handles of a crimping tool, the jaws close around the connector and the wire. The internal die of the tool is engineered to fold the metal “wings” of the terminal inward, driving them deep into the strands of the copper wire.As the metal deforms, the individual strands of the wire are compressed against each other and the interior wall of the connector. This compression is so intense that the wire strands and the terminal material effectively become a single mass. If done correctly, the resulting connection is more durable than the wire itself, capable of withstanding significant vibration and pulling forces without losing electrical contact.
Types of Crimping Tools for Different Applications
Not all crimpers are built the same. Understanding the specific tool required for your project is the first step toward a successful termination.
1. Modular Crimpers
These are the go-to tools for IT professionals. They are designed specifically for RJ45 (Ethernet) and RJ11 (phone) connectors. They often feature built-in wire cutters and strippers, allowing you to prepare the cable and attach the connector with a single piece of equipment.
2. Automotive Crimpers
Automotive work usually involves insulated terminals, such as spade or ring connectors. These tools have color-coded notches (red, blue, and yellow) that correspond to the wire gauge. They are designed to crimp the metal part of the terminal while simultaneously gripping the insulation to provide strain relief.
3. Ratcheting Crimpers
If you are looking for consistency, a ratcheting tool is essential. These tools feature a mechanism that prevents the handles from opening until the full crimping cycle is complete. This ensures you apply the exact amount of pressure required every single time, removing the guesswork from the process.
Why Choose Crimping Over Soldering?
Soldering is a classic skill, but in modern manufacturing and field repairs, crimping has become the industry standard for three primary reasons: speed, reliability, and safety.First, crimping is significantly faster. There is no need to wait for an iron to heat up, nor do you have to hold the wire steady while the solder cools. Second, crimped connections are better suited for environments prone to vibration, such as inside a vehicle or industrial machinery. Solder is a rigid, brittle alloy; over time, constant vibration can cause a solder joint to crack. A crimped connection, by contrast, retains a degree of flexibility.Finally, crimping is safer. You aren’t dealing with high-heat tools or potentially toxic flux fumes, making it a better option for tight spaces or areas where fire hazards are a concern.
Step-by-Step: How to Properly Crimp a Wire
Getting a perfect connection requires a bit of technique. Follow these steps to ensure your work holds up:
- Strip the Wire: Use a wire stripper to remove about 1/4 to 1/2 inch of insulation. Be careful not to nick the copper strands, as this weakens the wire.
- Select the Right Terminal: Match the terminal to the gauge of your wire (e.g., 16-14 AWG). A loose fit will lead to a weak connection.
- Position the Wire: Insert the stripped wire into the terminal. Make sure the copper strands are fully seated inside the metal barrel.
- Apply Pressure: Place the terminal into the appropriate slot on your crimping tool. Squeeze the handles firmly. If you are using a ratcheting tool, do not stop until the tool releases.
- Perform a Pull Test: Give the wire a firm tug. It should not budge from the terminal. If it slides out, the crimp was too loose, and you should cut it off and start over.
Common Mistakes to Avoid
Even experienced technicians occasionally make mistakes. The most common error is using the wrong die for the terminal type. If you use a tool designed for uninsulated terminals on an insulated connector, you will crush the plastic insulation and likely fail to create a secure electrical connection.Another frequent issue is “over-crimping,” where too much pressure is applied, causing the terminal metal to split or the wire strands to be severed. Conversely, under-crimping leaves a loose connection that will eventually oxidize and cause intermittent signal loss. Always check your tool’s manufacturer recommendations to ensure you are using the correct settings.
Conclusion
A crimping tool is more than just a pair of pliers; it is a precision instrument designed to ensure the longevity and safety of electrical connections. Whether you are managing complex network infrastructure or simply fixing a loose wire in your garage, mastering the art of the crimp will save you time and prevent future headaches. By choosing the right tool for the job and following proper techniques, you can create connections that last for years, regardless of the environment.
External Resources & Further Reading
For additional industry standards and official technical guidelines, explore the following trusted external resources:
Related Articles & Guides
Explore related technical guides and analysis from our publishing library: